Overview
This guide walks you through configuring Microsoft Entra ID (formerly Azure Active Directory) as your identity provider for Bifrost Enterprise. After completing this setup, your users will be able to sign in to Bifrost using their Microsoft credentials, with roles and team memberships automatically synchronized.
Prerequisites
- A Microsoft Azure account with access to Entra ID (Azure AD)
- Admin access to create app registrations
- Bifrost Enterprise deployed and accessible
- The redirect URI for your Bifrost instance (e.g.,
https://your-bifrost-domain.com/login)
Step 1: Register an Application
- Sign in to the Azure Portal
- Navigate to Microsoft Entra ID (or Azure Active Directory)
- Go to App registrations
- Click New registration
Configure the registration:
| Field | Value |
|---|
| Name | Bifrost Enterprise |
| Supported account types | Accounts in this organizational directory only (Single tenant) |
| Redirect URI | Web: https://your-bifrost-domain.com/login |
- Click Register
Enable assignment requirement on the Enterprise Application
This step controls which users can access Bifrost. The toggle lives on the Enterprise Application, which is a different blade from the App Registration you just created (both share the same app name and Application ID, but they are separate entries in the Entra ID left navigation).
- From the Entra ID main menu, go to Enterprise applications
- Find and select Bifrost Enterprise (the service principal created automatically when you registered the app above)
- Go to Properties
- Set Assignment required? to Yes
- Set Enabled for users to sign-in? to Yes
- Click Save
Navigate to Entra Home → App Registrations → <your app name> → Overview to capture the values below.
| Value | Where to Find |
|---|
| Application (client) ID | Overview → Essentials |
| Directory (tenant) ID | Overview → Essentials |
Step 3: Create App Roles (Optional)
This step is optional. You can create custom roles if that’s the preferred way. Or you can map any attribute to role/team/business unit.
Role mapping is a required step.
- In your app registration, go to App roles
- Click Create app role
- Create the following three roles:
Viewer Role
| Field | Value |
|---|
| Display name | Viewer |
| Allowed member types | Users/Groups |
| Value | viewer |
| Description | Viewer role on Bifrost |
| State | Enabled |
Developer Role
| Field | Value |
|---|
| Display name | Developer |
| Allowed member types | Users/Groups |
| Value | developer |
| Description | Developer role on Bifrost |
| State | Enabled |
Admin Role
| Field | Value |
|---|
| Display name | Admin |
| Allowed member types | Users/Groups |
| Value | admin |
| Description | Admin role on Bifrost |
| State | Enabled |
Step 4: Create a Client Secret
Bifrost requires a client secret for OAuth authentication.
- Go back to App registrations → Bifrost Enterprise
- Navigate to Certificates & secrets
- Click New client secret
| Field | Value |
|---|
| Description | Bifrost Enterprise Secret |
| Expires | Choose based on your security policy (e.g., 24 months) |
- Click Add
- Copy the secret value immediately - it won’t be shown again!
Store the client secret securely. You’ll need it for the Bifrost configuration.
Ensure your application has the necessary permissions.
-
In your app registration, go to API permissions
-
Click Add a permission
-
Select Microsoft Graph
-
Choose the permission type as indicated in the next steps
-
Add the following Delegated permissions (Add a permission → Microsoft Graph → Delegated permissions):
openidprofileemailoffline_access (for refresh tokens)User.Read
-
Add the following Application permissions (Add a permission → Microsoft Graph → Application permissions):
User.Read.AllGroupMember.Read.AllGroup.Read.AllApplication.Read.All — required for syncing app-role-based role mappings during user import. If you don’t want to do bulk syncing, you can skip this permission.AppRoleAssignment.ReadWrite.All — required to read each user’s app role assignments via Microsoft Graph
Permission type matters: openid, profile, email, offline_access,
and User.Read must be Delegated, while User.Read.All,
GroupMember.Read.All, Group.Read.All, Application.Read.All, and
AppRoleAssignment.ReadWrite.All must be Application. The same name can
exist under both types — adding the wrong one will cause sign-in or sync
failures even though the permission appears granted.
- Click Add permissions
- Click Grant admin consent for [Your Organization] (this is required — without admin consent, Application permissions are not effective even though they appear in the list)
Application.Read.All and AppRoleAssignment.ReadWrite.All are only needed if you plan to use app role based role mappings (i.e.
mappings whose attribute is roles) during the bulk user sync. Login-time role mapping works from the JWT alone, but bulk sync from
Microsoft Graph needs these permissions to read each user’s app-role assignments and resolve them to their role values (e.g. admin,
developer).
Groups and other attributes are required in the claim when you configure their mapping in Bifrost. If you prefer to configure claims via the App Manifest JSON (Step 9), you can skip the UI steps here — the manifest is the source of truth and overrides UI-based token configuration.
roles claim when app roles are assigned. To include group memberships for team synchronization:
- Go to Token configuration
- Click Add groups claim
- Select:
- Security groups or Groups assigned to the application
- For token type, enable ID and Access
- Click Add
Step 7: Assign Users and Roles
- Go to Enterprise applications → Bifrost Enterprise
- Navigate to Users and groups
- Click Add user/group
- Select users or groups
- Select the appropriate role (Admin, Developer, or Viewer)
- Click Assign
You must select a role when assigning a user or group. Adding a user to the application without picking a role causes Entra to omit
the roles claim from the issued ID token, and login will be rejected with Claim "roles" is not present in the token. If you don’t want
to use app roles, configure your Bifrost role mappings on the groups attribute instead (see Attribute Mappings
below). You can assign roles to groups for easier management. All users in a group will inherit the assigned role. The group itself must be added
as an assignment with a role selected — adding users to a group that isn’t assigned to the application will not propagate roles.
Step 8: Understand Microsoft Entra user sync
Bifrost does not currently support Microsoft Entra SCIM management APIs or inbound Entra SCIM provisioning. Do not configure the Entra Provisioning tab with a Bifrost /scim/v2 tenant URL yet.
For Entra, Bifrost uses the application credentials from the setup above to sync users in the background every 24 hours. During that sync, Bifrost reconciles imported users, role mappings, team mappings, and business-unit mappings from Entra.
Every 15 minutes, Bifrost also refreshes active OIDC sessions. If a session cannot be refreshed, Bifrost checks with Entra whether the user is still active; if Entra reports the user is inactive, Bifrost decommissions that user locally.
Support for Microsoft Entra SCIM management APIs is coming soon.
You will need to make the following changes in the app manifest.
Set the access token version to v2.
For the Microsoft Graph App Manifest (current schema, default in the Azure Portal “Manifest” blade for app registrations created or migrated after the 2023 redesign):
"requestedAccessTokenVersion": 2
"accessTokenAcceptedVersion": 2
roles and groups claims to the ID token:
"optionalClaims": {
  "idToken": [
    {
      "name": "roles",
      "source": null,
      "essential": false,
      "additionalProperties": []
    },
    {
      "name": "groups",
      "source": null,
      "essential": false,
      "additionalProperties": ["cloud_displayname", "sam_account_name"]
    }
  ],
  "accessToken": [],
  "saml2Token": []
}
groups claim to groups assigned to this application (recommended):
"groupMembershipClaims": "ApplicationGroup"
Setting groupMembershipClaims to "ApplicationGroup" ensures the groups
claim only contains groups that are explicitly assigned to the Bifrost
Enterprise application — not every group the user belongs to tenant-wide.
This keeps your team and role mappings predictable and avoids leaking
unrelated group memberships into the token. Use "SecurityGroup" or
"All" only if you intentionally want broader group visibility.
Using the Bifrost UI
- Navigate to Governance → User Provisioning in your Bifrost dashboard
- Select Microsoft Entra as the OIDC Provider
- Enter the following configuration:
| Field | Value |
|---|
| Client ID | Application (client) ID from Azure |
| Tenant ID | Directory (tenant) ID from Azure |
| Client Secret | The secret you created in Step 4 |
| Audience | Your Client ID (optional, defaults to Client ID) |
| App ID URI | api://{client-id} (optional, for v1.0 tokens) |
- Verify configuration and see if you get any errors. Make sure you get no errors/warnings.
- Toggle Enabled to activate the provider
- Click Save Configuration
After saving, you’ll need to restart your Bifrost server for the changes to take effect.
Configuration Reference
| Field | Required | Description |
|---|
tenantId | Yes | Azure Directory (tenant) ID |
clientId | Yes | Application (client) ID |
clientSecret | Yes | Client secret for OAuth authentication |
audience | No | JWT audience for validation (defaults to clientId) |
attributeRoleMappings | Yes | Ordered list of attribute→role mappings. First match wins. |
attributeTeamMappings | No | Attribute→team mappings (all matches apply). |
attributeBusinessUnitMappings | No | Attribute→business-unit mappings (all matches apply). |
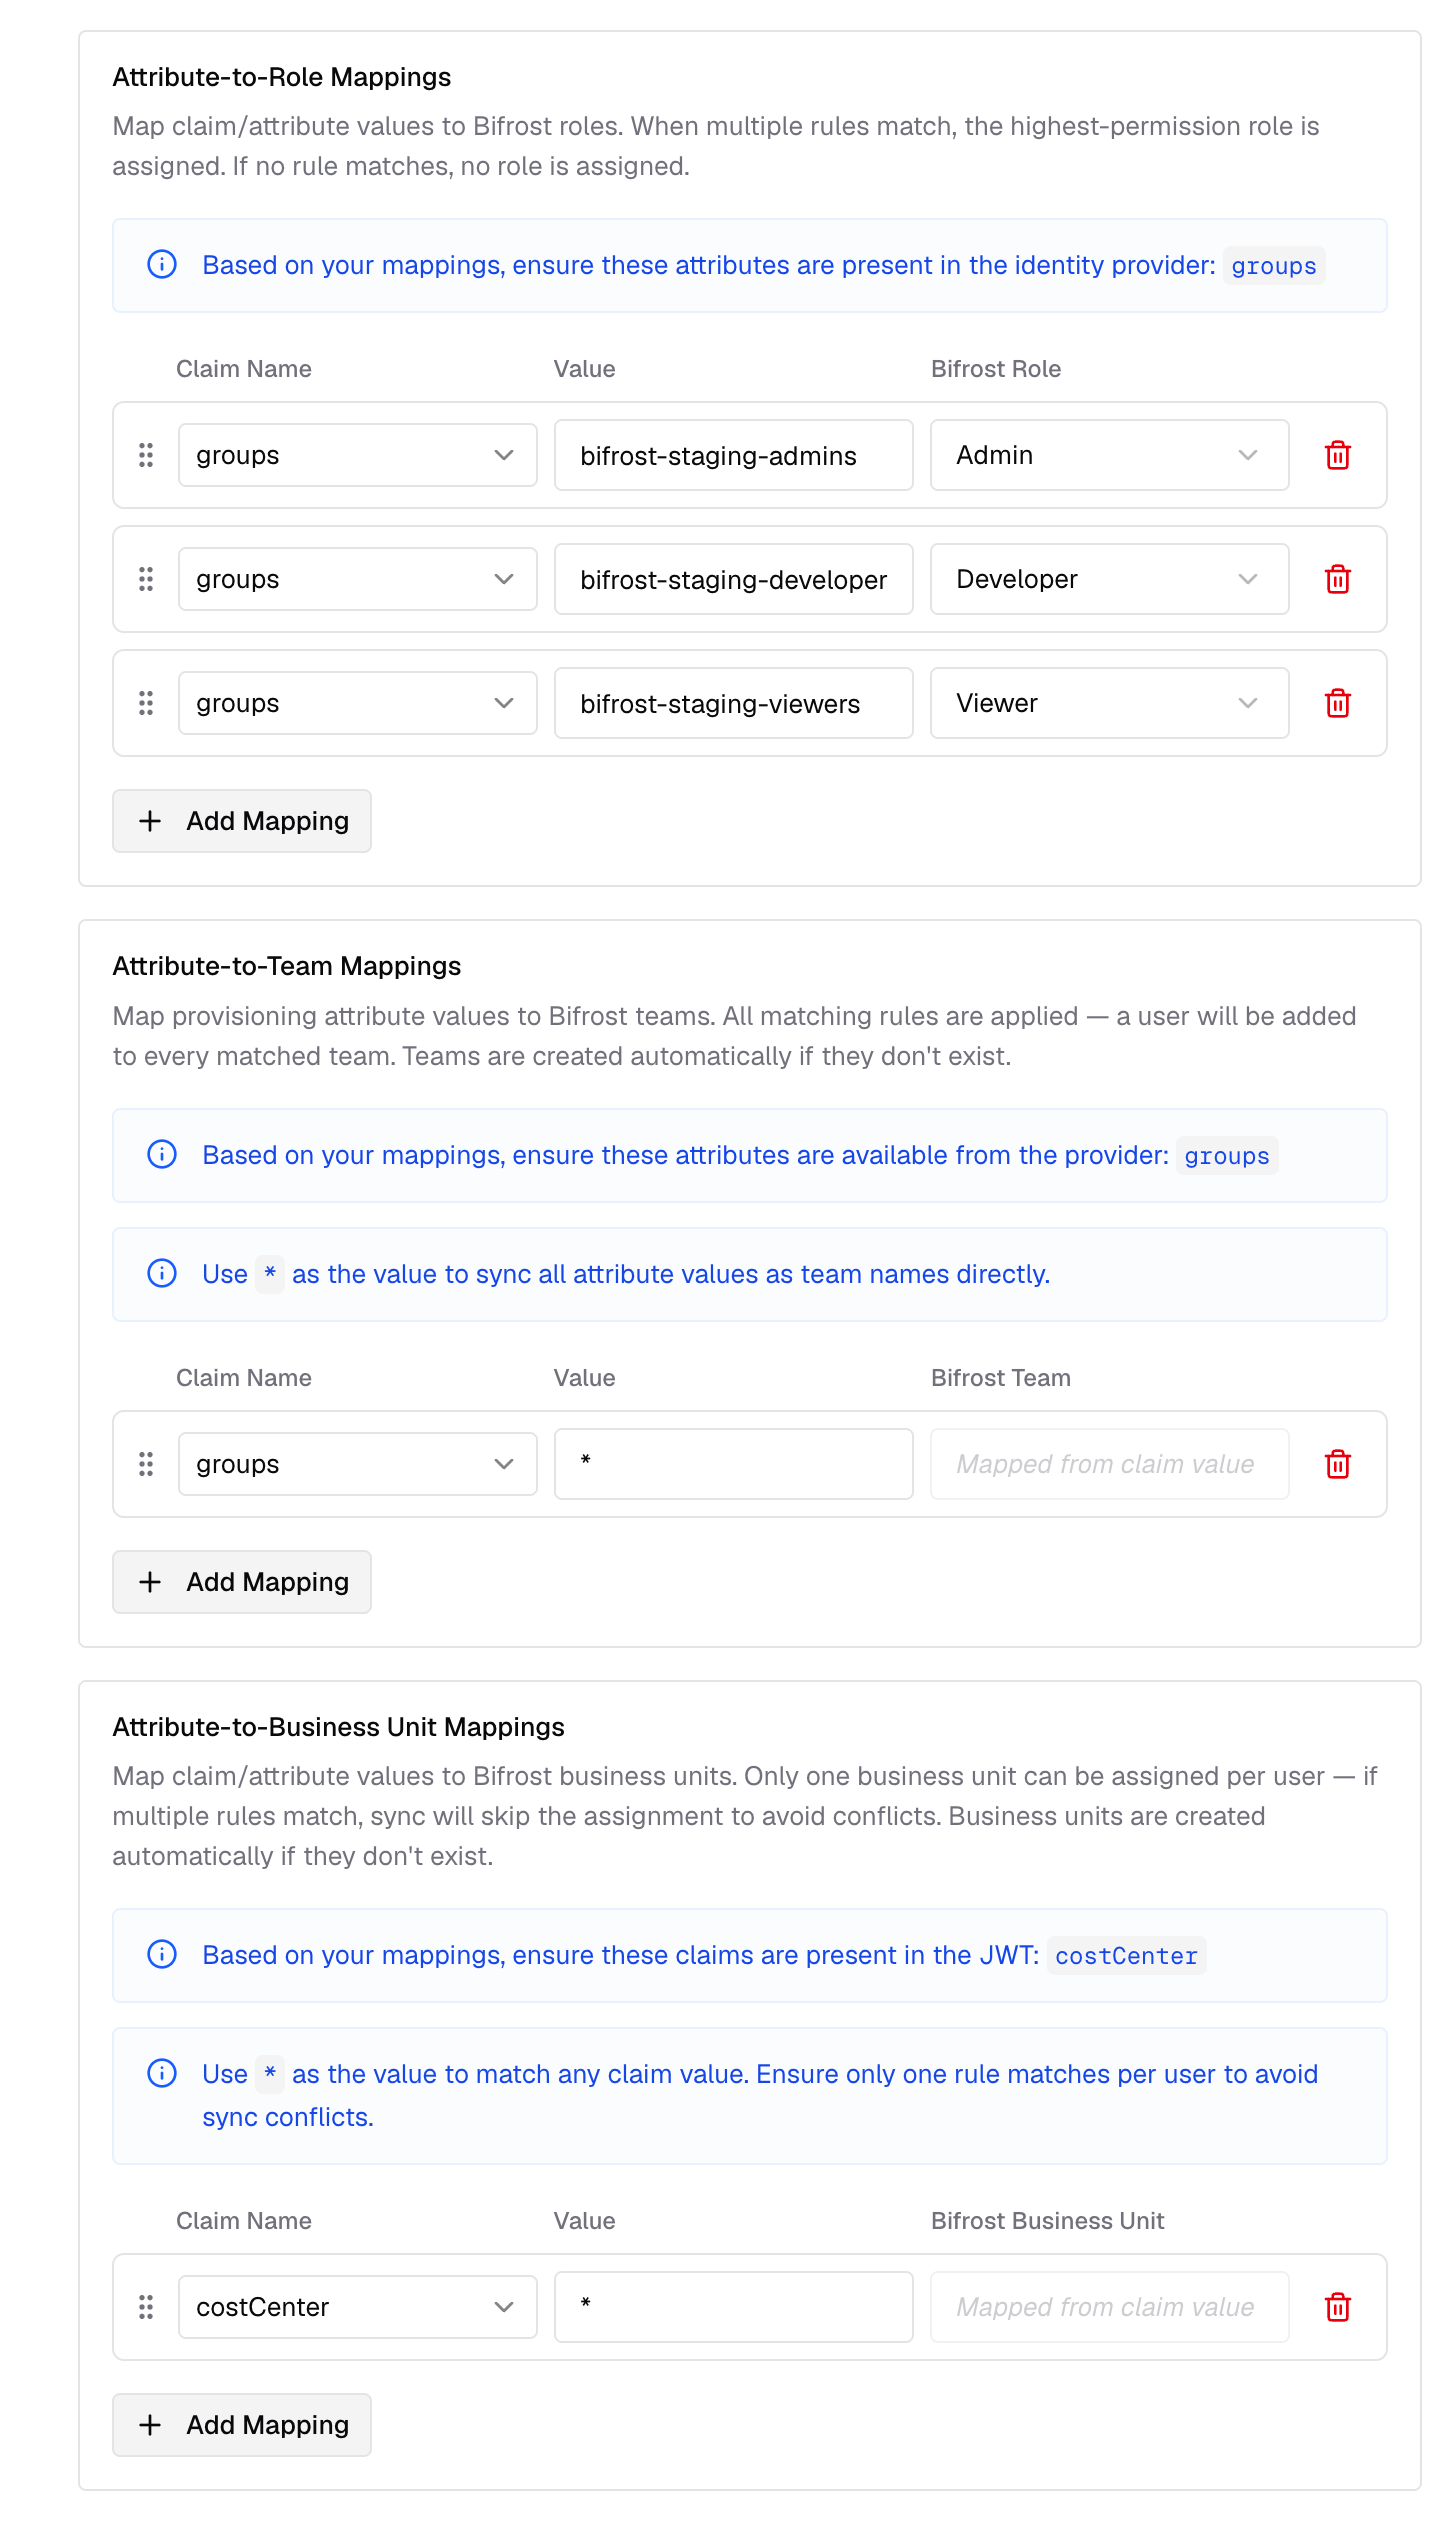
Attribute Mappings
Attribute mappings let you translate Entra claim values into Bifrost roles, teams, or business units without restructuring your Entra claims. Bifrost supports three mapping types:
attributeRoleMappings: map a claim value to a Bifrost role (Admin, Developer, Viewer, or a custom role)attributeTeamMappings: map a claim value to a Bifrost teamattributeBusinessUnitMappings: map a claim value to a Bifrost business unit
These mappings work with any Entra claim - the groups claim from Step 6, the app-role roles claim from Step 3, or any other claim your authorization server includes in the token (e.g., department, organization).
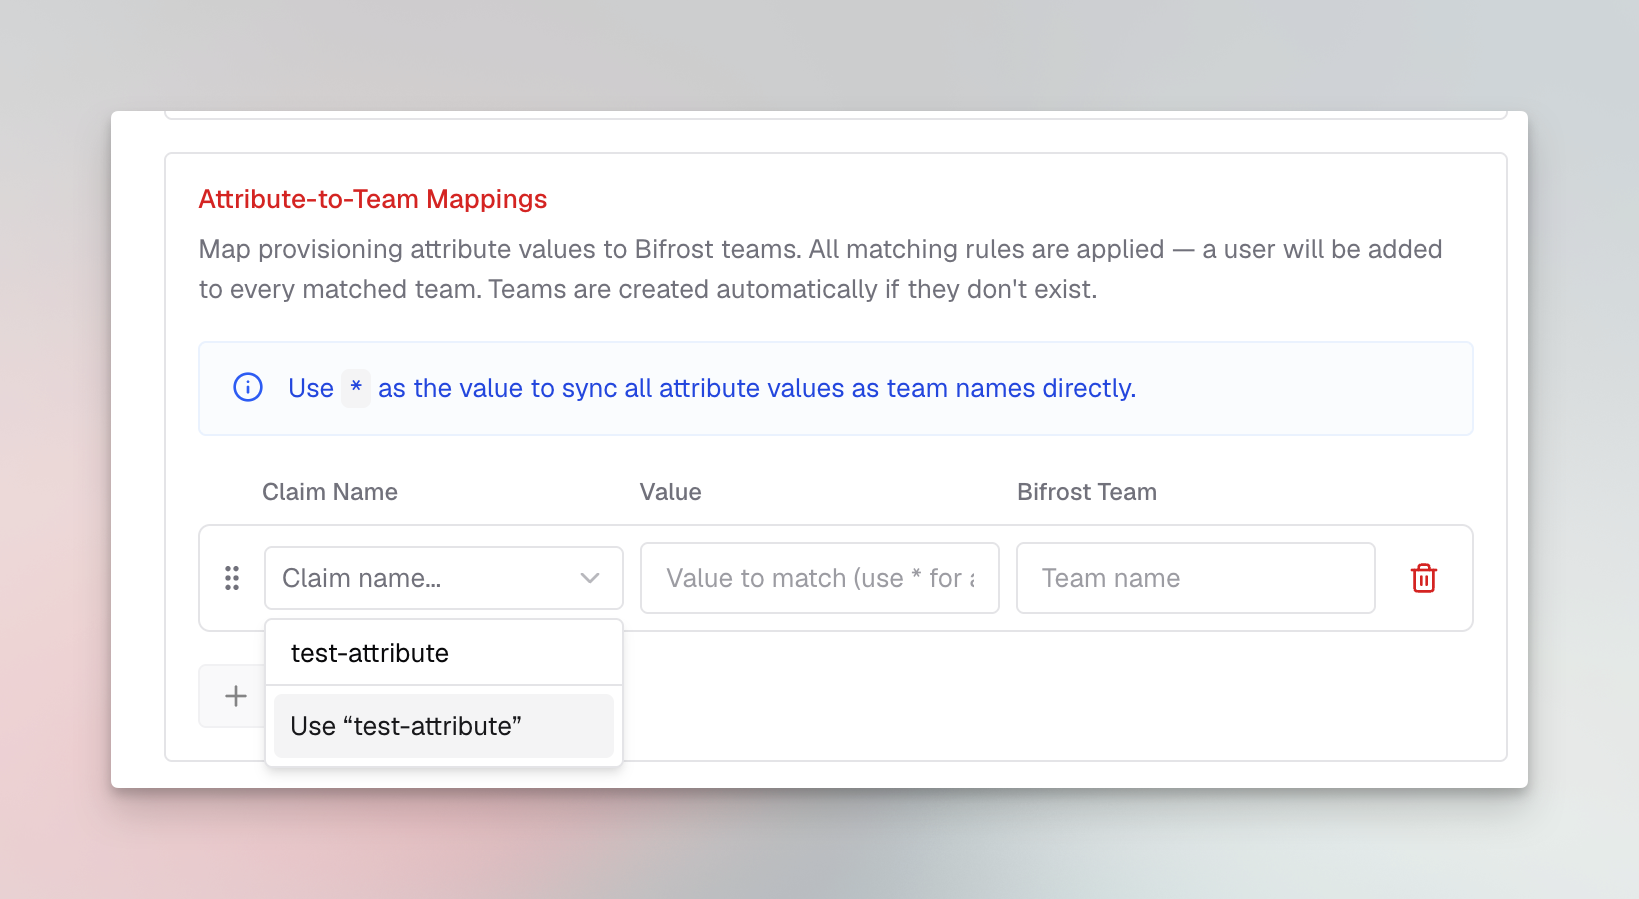
To configure attribute mappings:
- In the User Provisioning configuration, scroll down to Attribute Mappings
- Click Add Mapping under the relevant mapping type (Role, Team, or Business Unit)
- Enter the Attribute (the claim name from the token), the Value to match, and the target Role, Team, or Business Unit
- Repeat for each rule you need
When you mark value as ”*” - the claim value is mapped as is to the entity name. Values comparisons are case-insensitive.
Custom attribute mapping
You can also map any custom attributes to any entity (role, team or business unit). Make sure these are configured to send back to Bifrost in token configuration.
Evaluation rules
- Role mappings: Ordered, first match wins. If a user matches multiple role mapping rules, the highest privilege role is assigned. If no mapping matches, the user is not allowed to log in.
- Team and business unit mappings: All matching rules apply - users can be placed on multiple teams and business units simultaneously.
- Claim values: Can be strings, arrays, or nested objects. Bifrost resolves dotted paths (e.g.,
realm_access.roles).
- Click Save Configuration
Testing the Integration
- Open your Bifrost dashboard in a new browser or incognito window
- You should be redirected to Entra for authentication
- Log in with an assigned user
- After successful authentication, you’ll be redirected back to Bifrost
- Verify the user appears in the Bifrost users list with the correct role
Troubleshooting
User not redirected to Microsoft login
- Verify the OIDC provider is enabled in Bifrost
- Check that the Bifrost server was restarted after configuration
- Ensure the Tenant ID and Client ID are correct
”AADSTS50011: The reply URL does not match”
- Verify the redirect URI in your app registration exactly matches your Bifrost login URL
- Ensure there are no trailing slashes or protocol mismatches (http vs https)
“AADSTS7000215: Invalid client secret”
- Regenerate the client secret in Azure
- Ensure you’re using the secret Value, not the secret ID
- Check for any leading/trailing whitespace when copying
Token validation errors
- Ensure the Tenant ID matches your Azure directory
- Verify the Client ID is correct
- Check that the app registration is in the same tenant as your users
Claim "roles" is not present in the token on login
This means the user signed in successfully but Entra did not emit a roles claim in the ID token. Bifrost rejects the login because none of your role mappings can be evaluated.
Causes and fixes:
- User isn’t assigned to a role at the Enterprise Application level. Go to Enterprise applications → Bifrost Enterprise → Users and groups, edit the assignment, and pick a role (admin/developer/viewer). Adding a user to the app without selecting a role does not emit the
roles claim.
- Role assignment is via a group that isn’t itself assigned to the app. The group needs to appear in Users and groups with a role selected — Entra does not walk transitive group memberships to populate
roles.
- Optional
roles claim missing from the manifest. Confirm Step 9 (App Manifest) lists roles under optionalClaims.idToken.
- Sign out and back in. Existing sessions still carry the old token without
roles.
If you don’t want to use app roles at all, switch your Bifrost mappings to use the groups attribute (which is already in the token) instead of roles. See Attribute Mappings.
Bulk user sync assigns Viewer instead of the mapped role
If users come in via User Provisioning → Import users and end up on the default role (Viewer) despite having a matching app-role-based mapping configured:
- Confirm the user actually has the app role assigned in Entra (Enterprise applications → Bifrost Enterprise → Users and groups).
- Confirm both
Application.Read.All and AppRoleAssignment.ReadWrite.All are granted with admin consent in Step 5. Without these, Bifrost cannot read the app role catalog or per-user assignments via Microsoft Graph, so the synthetic roles claim used by the importer will be empty.
- Server logs will contain
[ENTRA-ROLES] failed to fetch app role catalog: ... 403 if the permission is missing.
Next Steps